The TJ started making a faint squeaking noise when going over any kind of bump. Anyone that knows me knows that I can’t stand squeaks and rattles. The noise was coming from the tailgate, because of the oversized spare tire that is mounted to it. The tailgate hinges just aren’t up to the task of supporting such a large tire. There are all kinds of solutions to this problem, but in order to maintain a mostly stock look, I decided to go with some beefed up hinges to stabilize the tailgate.
Installing the new hinges is just 8 bolts, so it should only take a half hour or so, if you include aligning the tailgate. The first 6 bolts came right out, with zero drama. The 7th bolt started to lock up and make loud squeaking noise, which is a tell-tale sign of the threads on the back side of the nut being rusted/corroded. I stopped and hit the bolt with some penetrating oil, and decided to let it sit for a bit. The 8th bolt made similar noises, but came out just fine.
Back to the 7th bolt. The bolt backed out about 1/4″ before it started to lock up. I decided to hit it with more penetrating oil and run it back in, to make sure the threads were lubed. As soon as I tried to tighten it, the bolt snapped with very little effort. FML. I was devastated. I figured my best bet was to drill out most of the bolt and try to remove what’s left with a punch. Naturally, I couldn’t find my center punch or screw extractors, so I took the boy to Home Depot for some supplies.
Home Depot didn’t have a regular center punch, so I had to get one of the stupid automatic ones. I also picked up a set of screw extractors and some cutting oil. I get home and pull the stuff out of the bag and everything is covered in oil. The spout on the cutting oil container was cracked and the oil spilled everywhere inside the bag. Luckily the bag contained it, so it wasn’t all over the car.
After center-punching the bolt to align the bit, I drilled the bolt about 95% of the way to the threads. It was fairly uneventful. The last bit I ran through it actually spun the back half of the bolt out the backside of the nut, so I only had the front half of the bolt left in the nut. I decided to grab the remainder of the bolt with a screw extractor, thinking it likely wasn’t jammed that bad. I got about one full rotation with the screw extractor and SNAP. The screw extractor jammed inside the nut and snapped off.
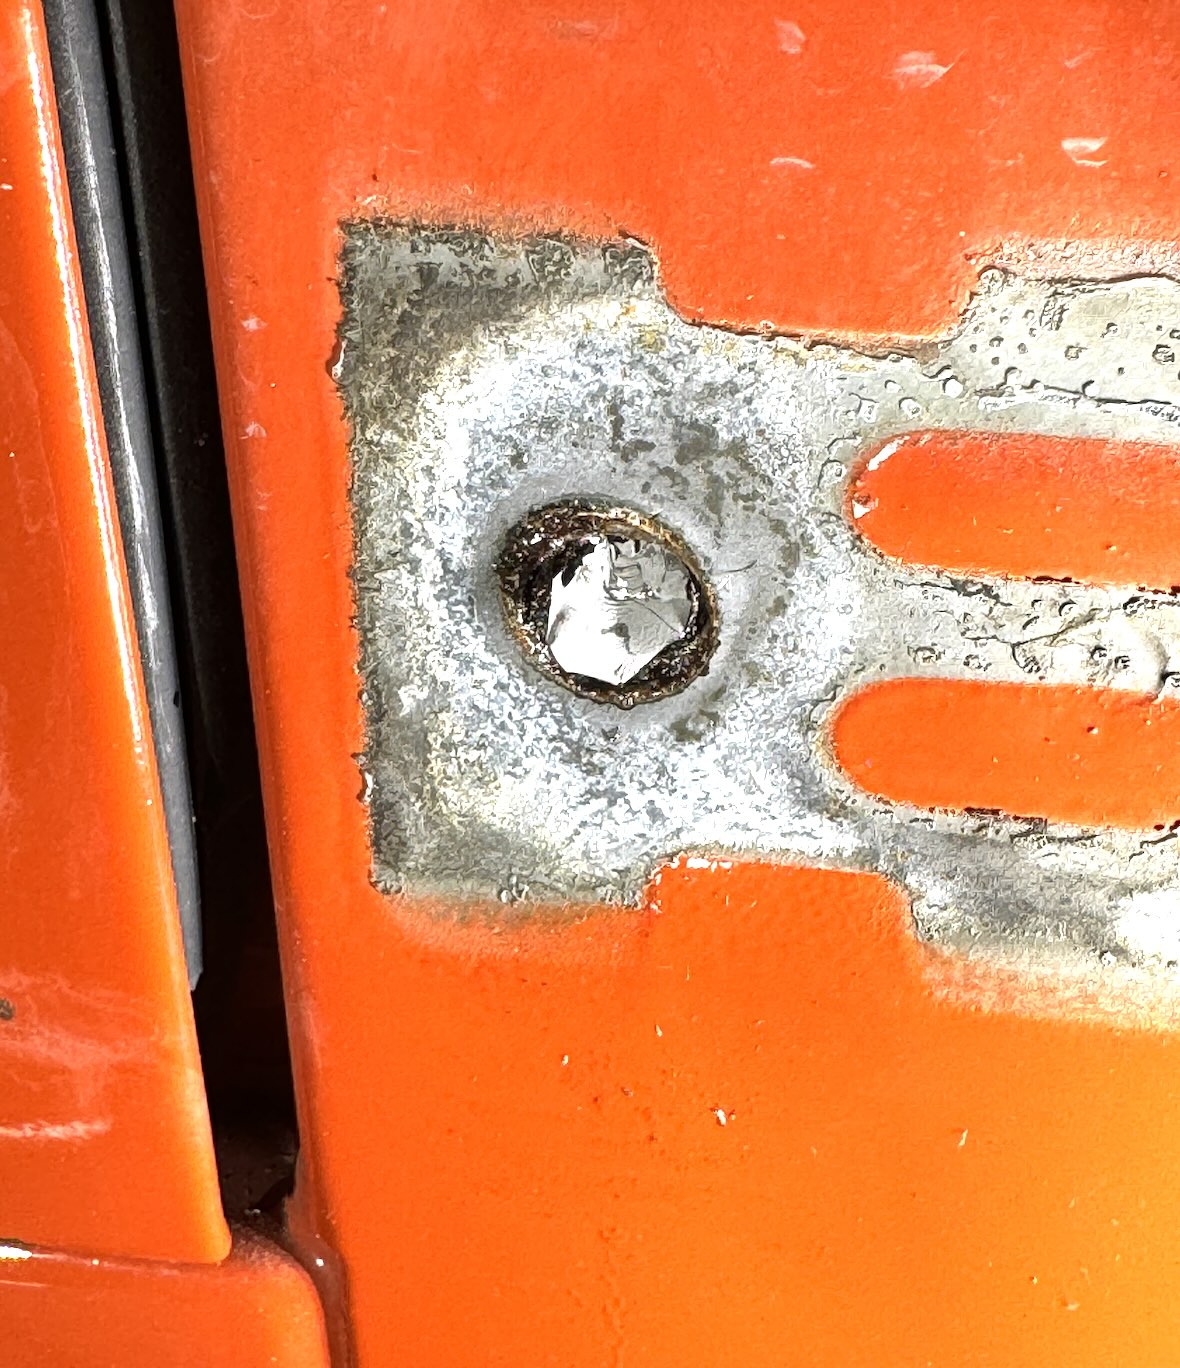
What you see here is a broken screw extractor inside of a broken bolt, inside of a captive nut inside the body of the TJ, which I removed because of a very minor squeaking sound.
I’m not actually sure how to proceed at this point. Screw extractors are obviously very hard and brittle, so I tried to hit it hard with a punch a few times. I was able to break a few small chunks off of it, but didn’t make much progress at all. I spent some time going at it with a Dremel, but the screw extractor was just too hard for any of the bits I had on hand. I went back up to Home Depot to buy a diamond bit for the Dremel, and I hope to be able to burrow through the center of the screw extractor in the morning. If I can get through the center of it, I hope to be able to crack it into a couple pieces and pull it out.
I hate leaving a project in a state like this, but everything I touched today turned to shit, so it’s time to call it and regroup in the morning.
Day 2

I spent a couple hours trying to make a dent with one (actually, two) of these diamond bits in my Dremel tool. It is an incredibly slow process, and it produces a surprising amount of very fine metal dust given how little material it appears to be removing. It was very difficult to tell where the broken screw extractor ended, and where the nut and surrounding bracket started.
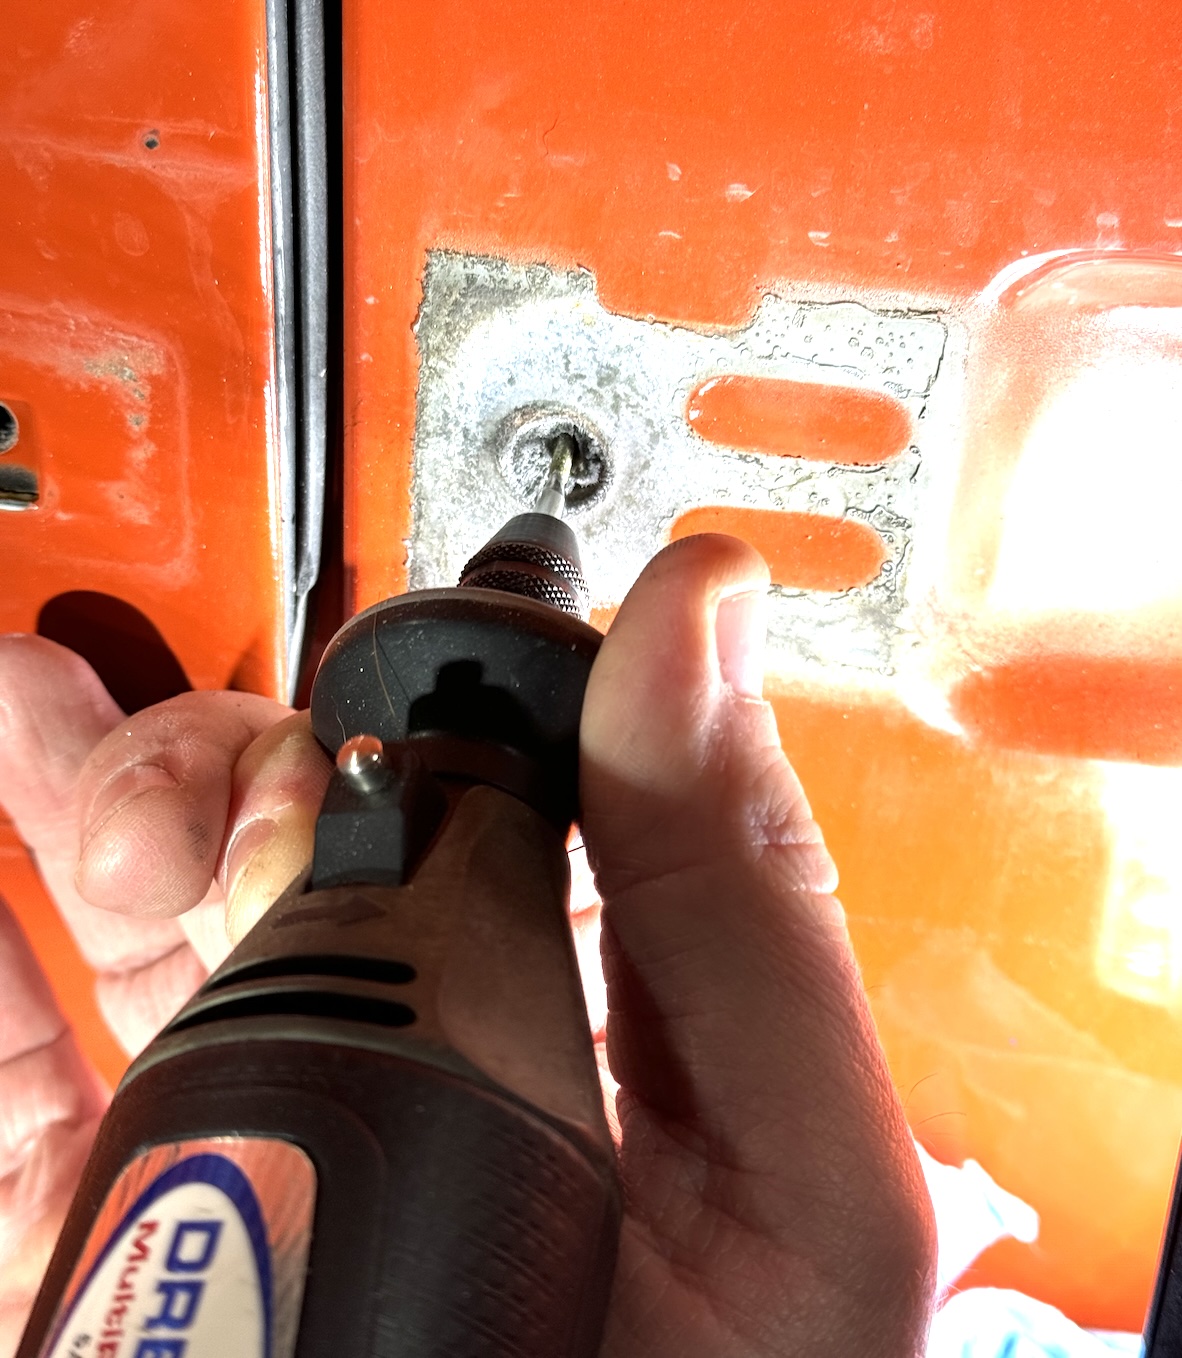
Eventually, at what seemed like glacial pace, I broke through the center of the screw extractor. At this point, I was able to widen the hole with the less worn-down part of the diamond bit. This went much faster than trying to burrow straight through, but it presented a new challenge… I needed to make sure I didn’t go beyond the screw extractor (and the remains of the broken bolt that was still in the hole). If I did, I’d compromise the captive nut in the body, and who knows how the hell I’d recover from that. So, I tried to go slowly and carefully, while looking inside every so often to see if I saw the material change to the bolt or the nut.
Once I could finally see the threads, I broke out some of the remains of the screw extractor with a punch. Now it was just a small portion of the screw extractor and what was left of the bolt. I started trying to run a tap through the hole, but it jammed pretty early on. I wasn’t about to break off a tap in the same damn hole I’d been working on for hours. I kept running the tap up until it jammed, backing it off, adding oil, and running it again. I repeated this process over and over until I started making progress.
Then I heard a crack. My heart sank. I was afraid to move my hands. When I gained the courage to move, I was relieved to learn that the tap was still intact. The crack appeared to come from the screw extractor. I backed the tap out and did what I could to clean out the threads. I ran the top back through the hole and I was able to power through the rest of the junk in the threads and make it completely to the back side of the nut! I backed the tap out and inspected the nut and it appeared damage free! Eureka! Talk about a relief!
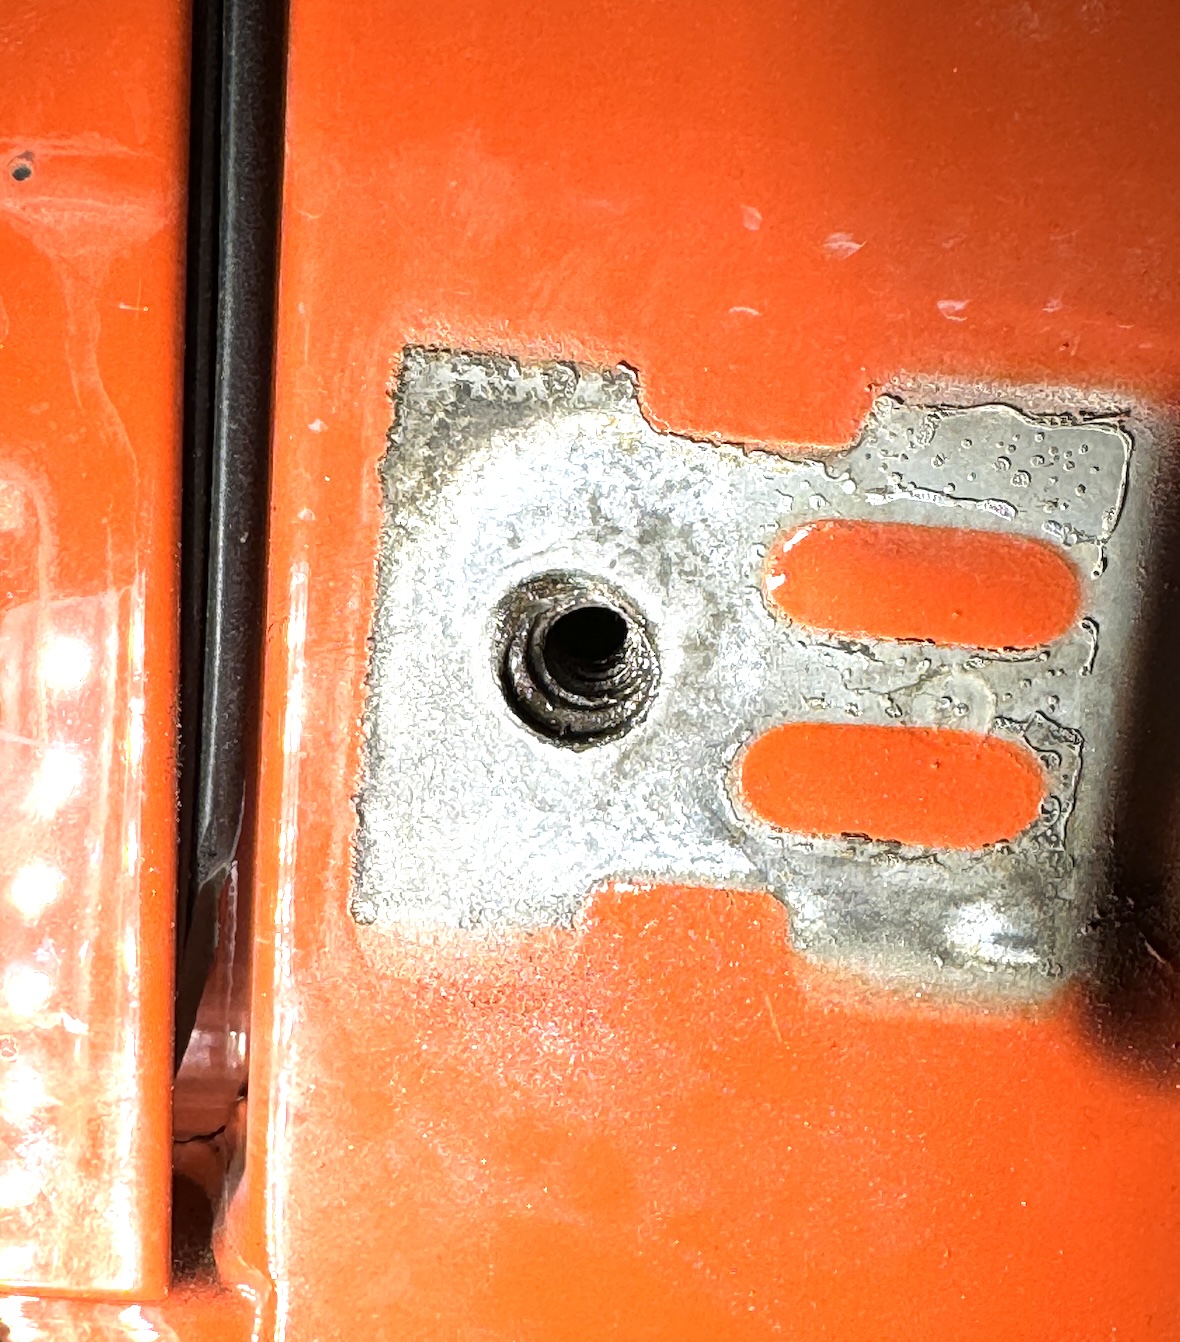
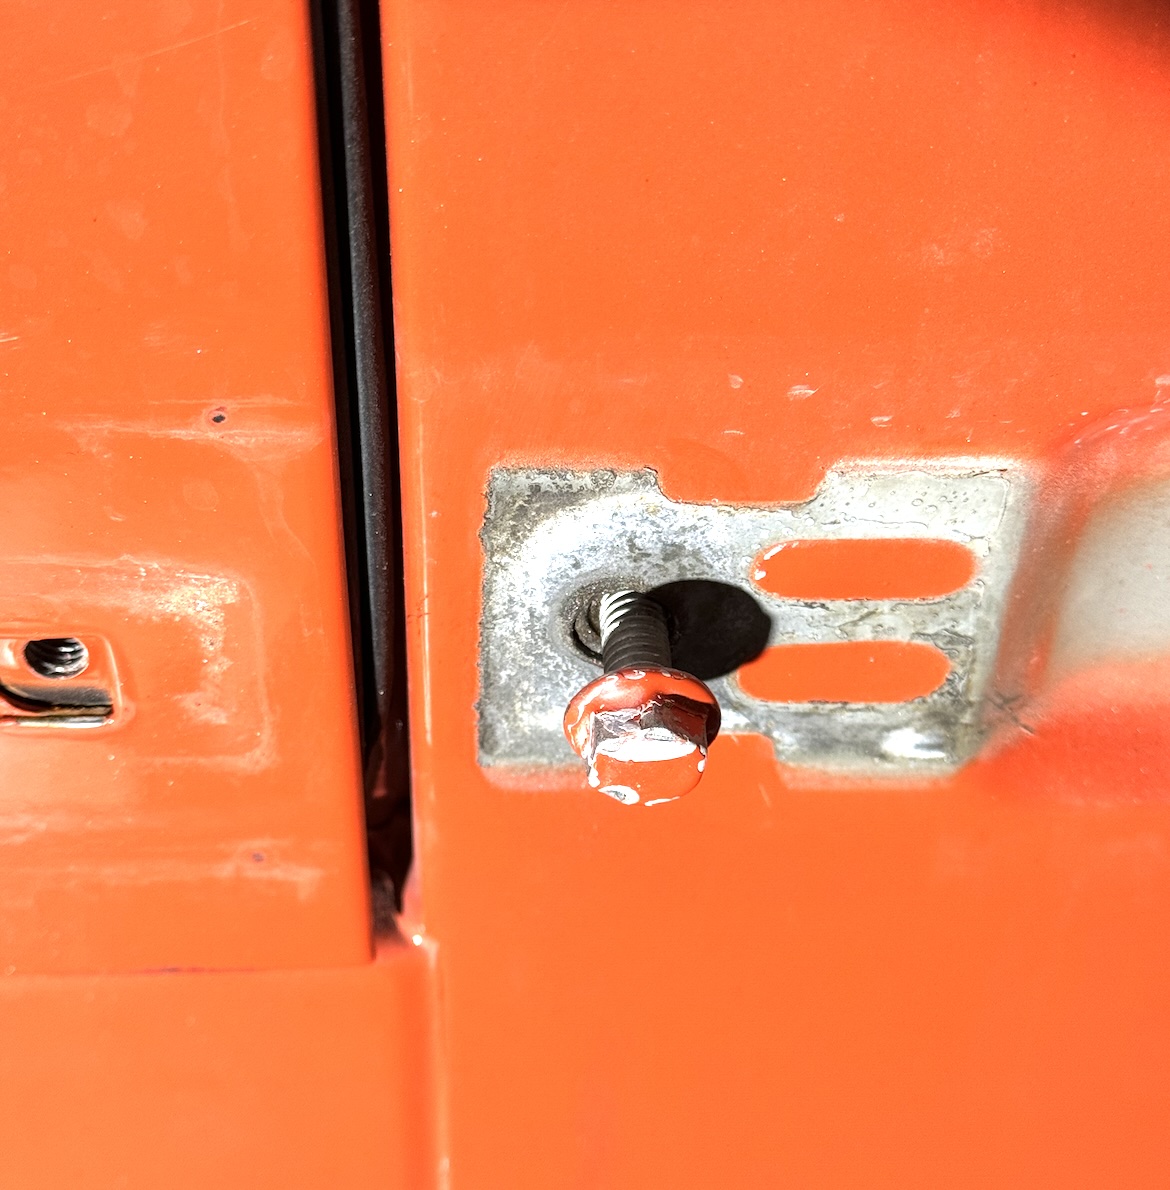
I am astounded that I was able to remove the screw extractor and the remains of the broken bolt without ruining the threads on the nut. This felt like a complete impossibility when I ended my day yesterday. Now all that remains is to install the new tailgate bracket.
Thankfully, the new bracket installed drama-free. I’m very happy with the quality and it appears to hold the tailgate much more rigidly. No squeaks, and the tailgate shuts better than it ever has!
I only ordered the hinge kit, because I already have a heavy duty spare tire bracket and I didn’t like the one that was intended to go with these hinges. I expected that I would have to do a little custom work to make my tire bracket work with these hinges. All that remained was to take some measurements so that I could design and 3D print a spacer for the tire bumper pieces that support it.
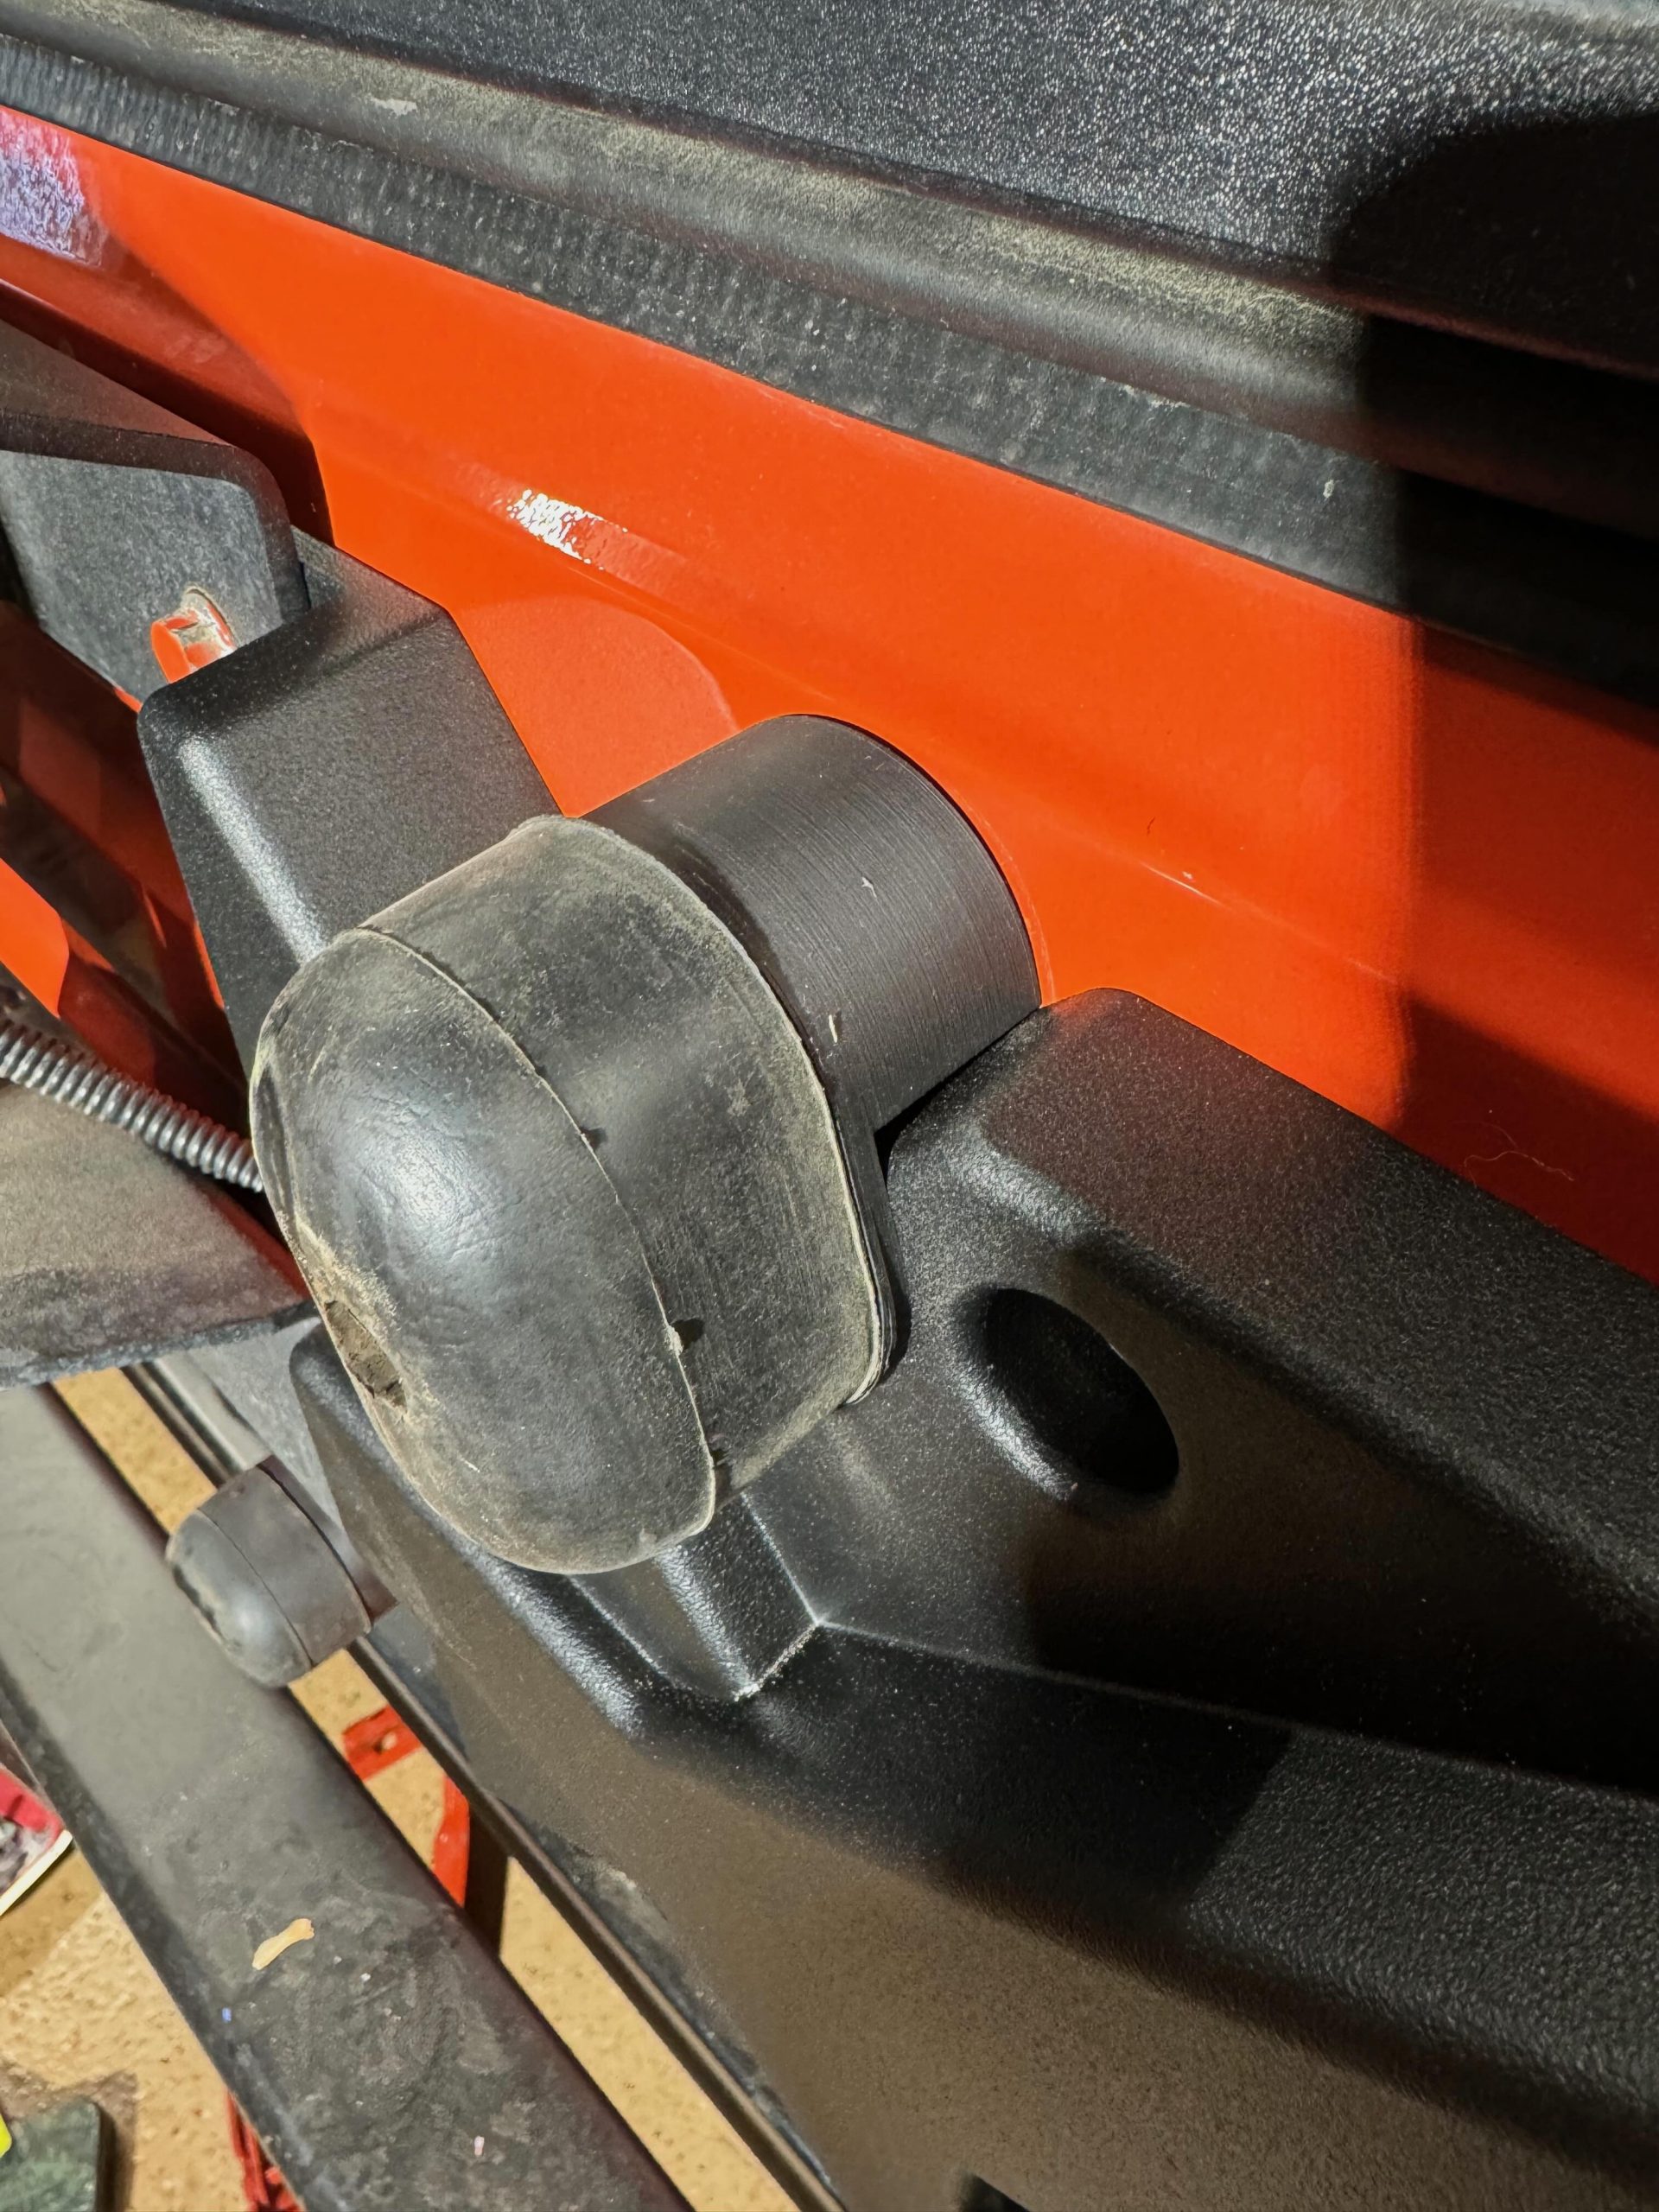
A few simple measurements and an hour later, I had a nice spacer that wrapped around the new hinge and brings the bumper right back to where it was before the project began. I’d already added some spacers to these bumpers when I installed my heavy duty spare tire bracket; I just needed to make one with a cutout for the new hinge, since it cut into the area the spacer used to occupy.
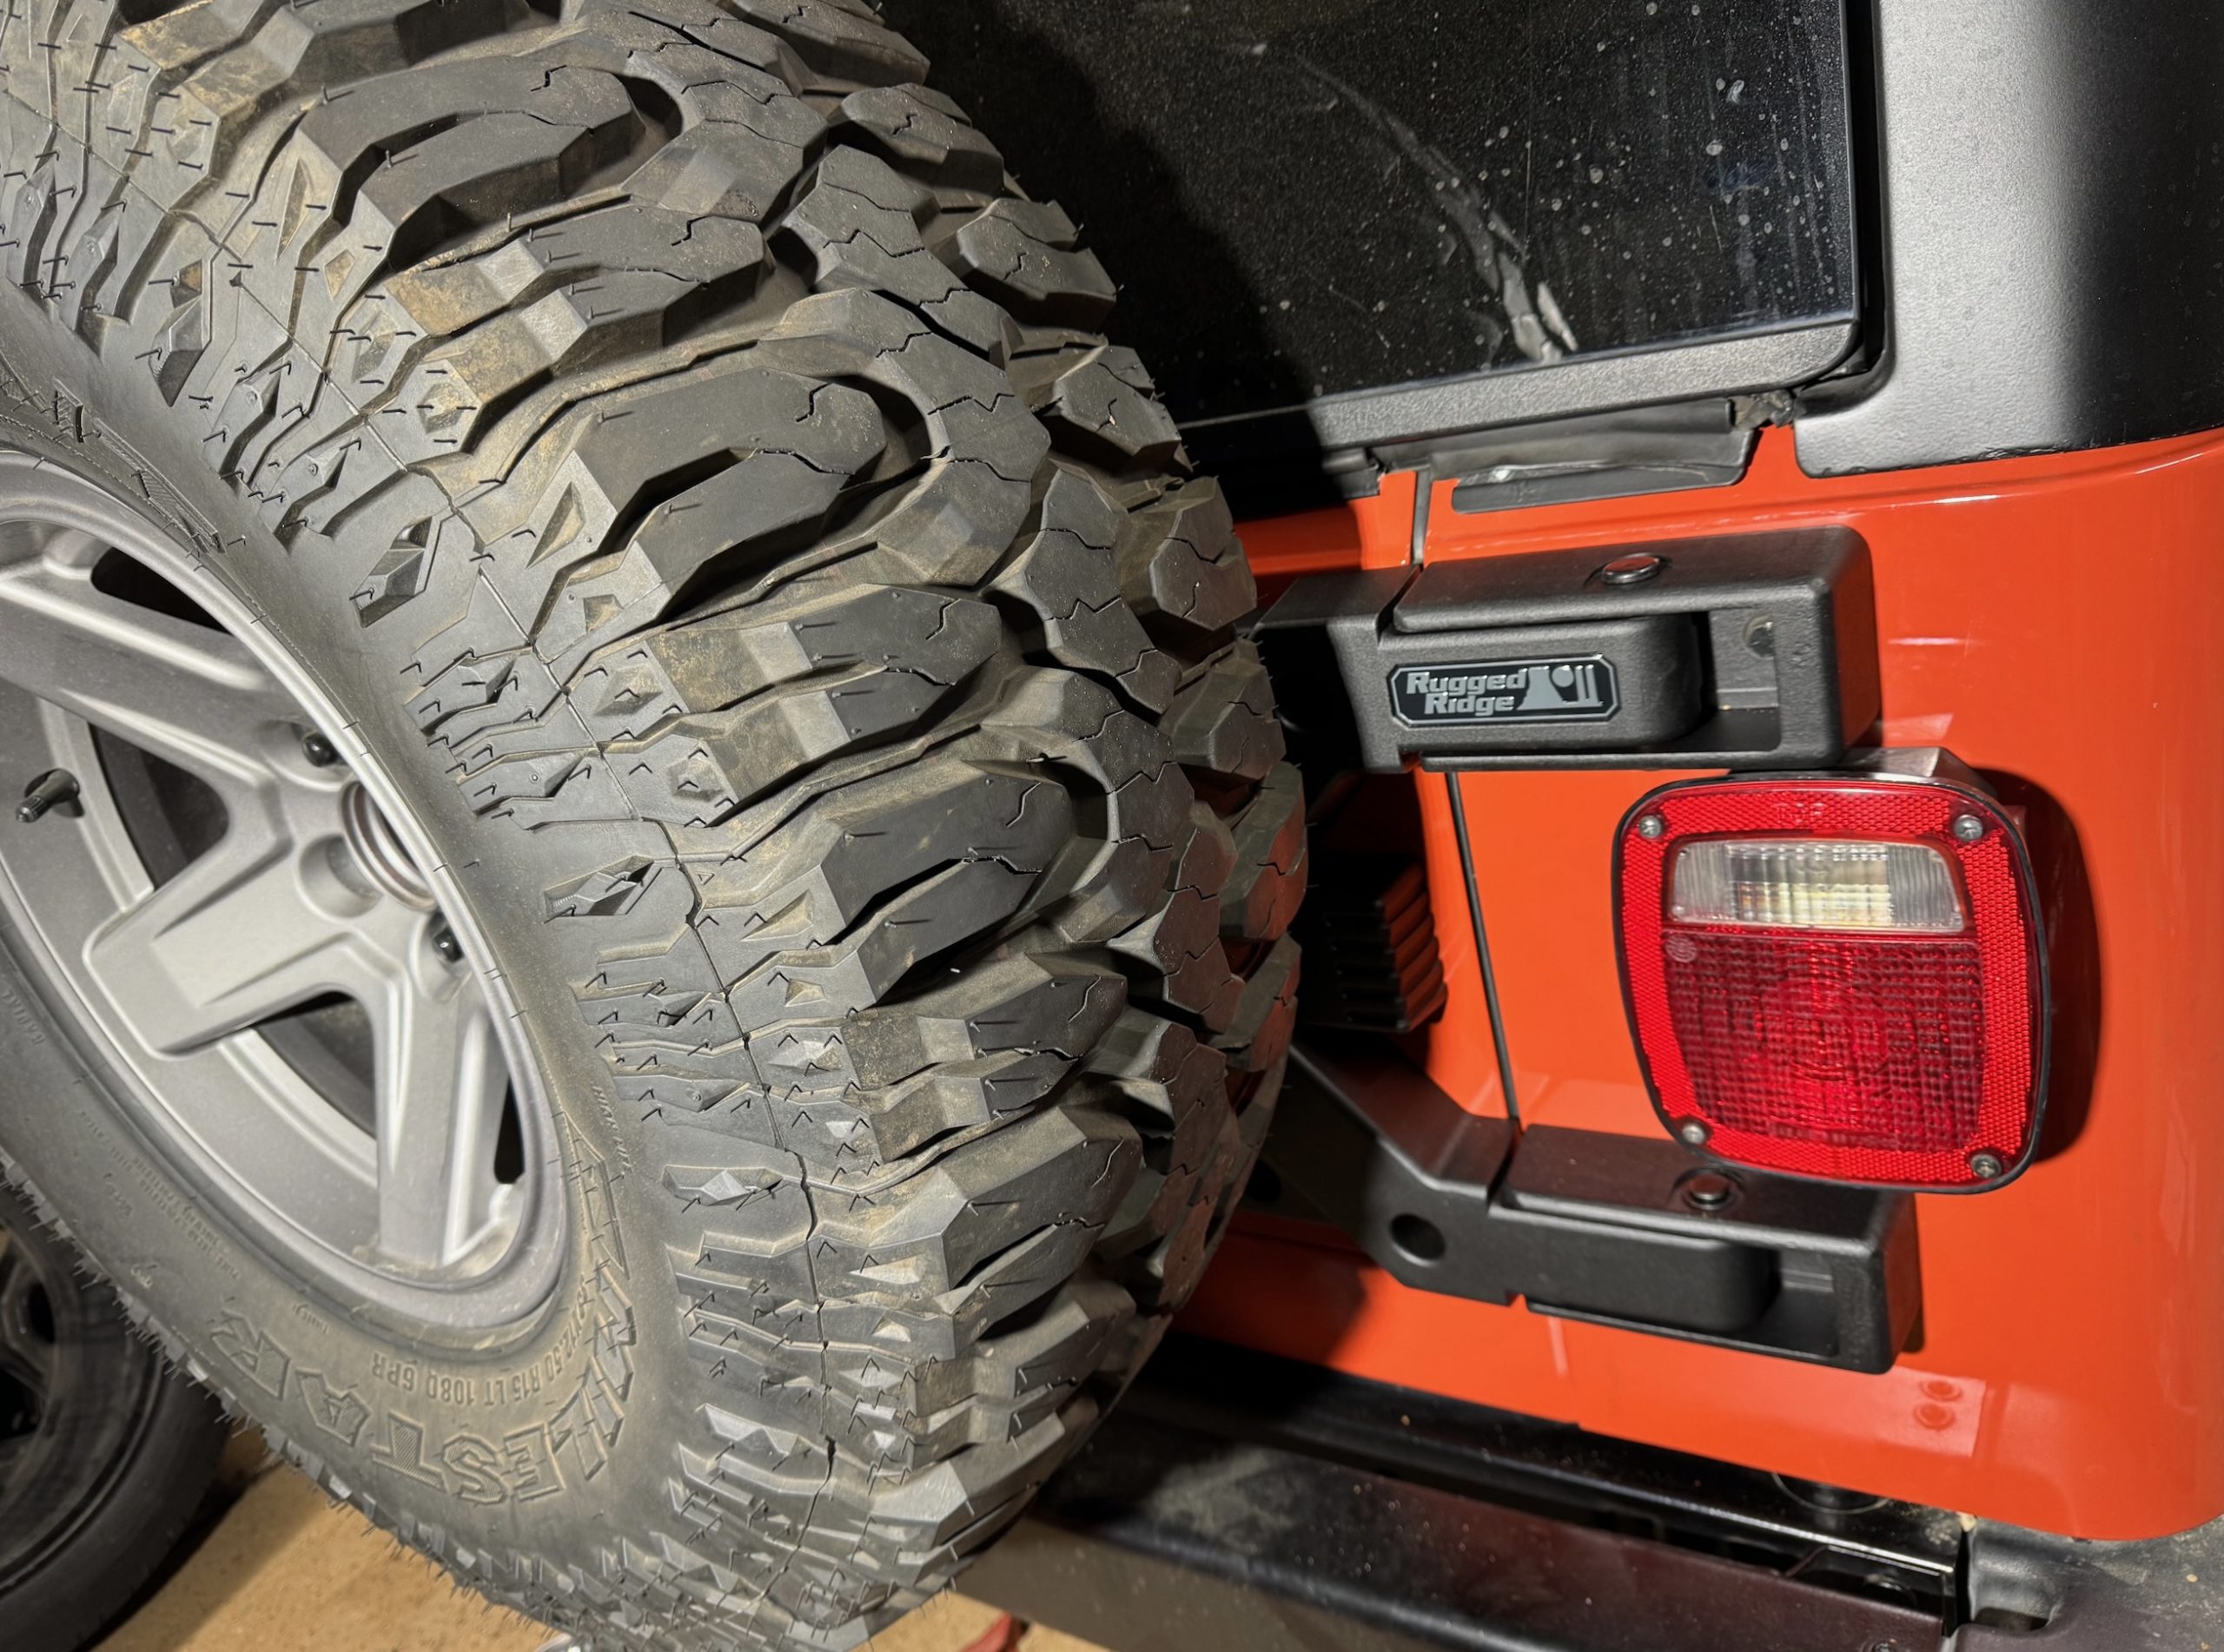
Victory! I am very happy with the end result, but this is absolutely the longest I’ve ever struggled with a single bolt in my entire life. I’d say it took 5-6 hours of suffering to accomplish what should’ve been a 20-3o minute project.

Holy Shit Batman